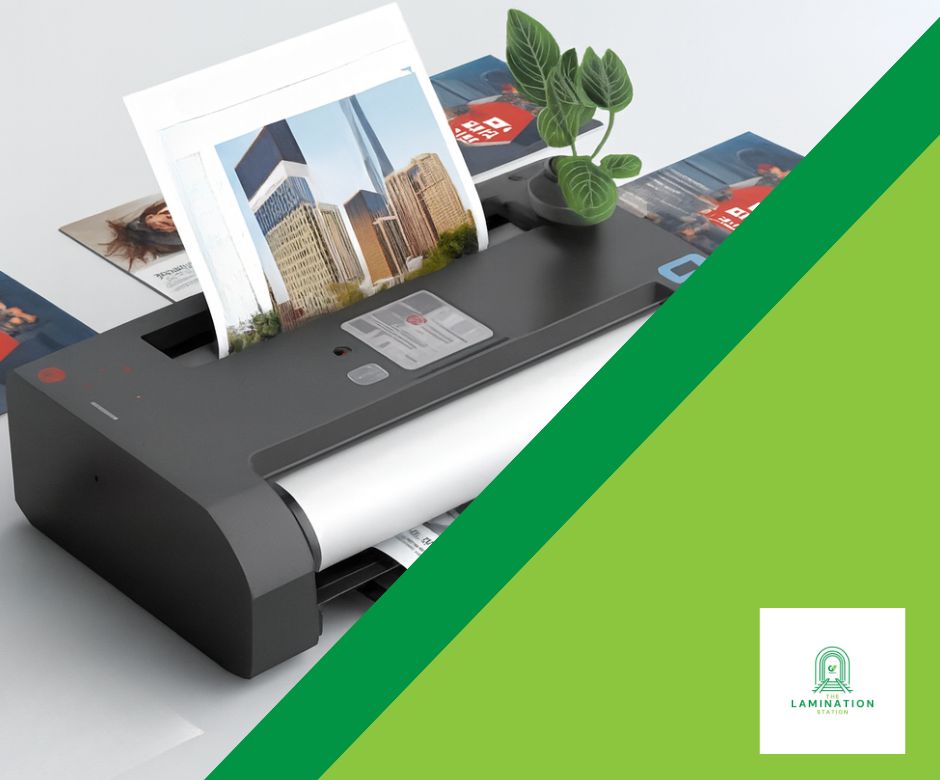
If you’ve invested in lamination rolls and a compatible laminator, you can achieve durable, flexible, professional results at home or in small business settings. Whether you’re creating signage, reusable classroom items, or marketing materials, this Guide to DIY Lamination Projects will help you get the most from your laminating roll setup.
Why Choose Lamination Rolls?
- Flexibility of size – you can cut to any desired width and length, so you don’t waste material.
- Cost-effective – for larger or custom-sized jobs.
- Continuous coverage – especially useful for banners, signage, or longer strips of marketing materials.
What You’ll Need
- A laminator that takes rolls – ideally one designed for desktop or small business use. Check maximum roll width and thickness (microns).
- Lamination rolls – gloss, matt or speciality finishes (e.g. soft touch, holographic, embossed)
- Core tubes/roll mounts – if the laminator requires them.
- Printed media – ink fully dry; good quality paper or card stock, depending on project.
- Cutting tools – sharp blades, rotary cutters, guillotine or trimmer for finishing edges.
- Optional tools – edge sealing kit, corner rounder, press roller for smoothing.
Step-by-Step Lamination Process
- Select the Right Film Roll
- Finish: gloss for vibrancy, matt for low glare, holographic, textures or soft touch for premium feel
- Roll width: match or slightly exceed the widest piece you plan to laminate.
- Prepare Your Design & Prints
- Ensure ink is completely dry.
- Trim prints as needed, but leave sufficient border for sealing edges if necessary.
- For multiple small items, group them on a larger sheet or backing paper to minimise waste.
- Set Up the Film Roll on the Laminator
- Mount the film roll securely on the feed shaft or spindle; ensure it’s aligned and won’t skew during feeding.
- Pre-feed a small length to ensure tension is correct and film is flat.
- Depending on your laminator, you might need a backing liner or release liner feed.
- Preheat Your Laminator
- Turn on and wait until the laminator reaches the recommended temperature for your film thickness. Often there’s an indicator light.
- Run a scrap piece or blank liner first to stabilise the temperature and rollers.
- Feed Your Print and Film
- Align the print under the film approximately, then feed both through if using hot lamination.
- If the machine uses separate top lamination film and bottom feed, ensure proper alignment.
- Keep the feed straight and taut to avoid waves or wrinkles.
- Post-Lamination Handling
- Once the material exits the laminator, handle it carefully. Avoid pulling or bending while still warm to prevent distortion.
- Let it cool flat to avoid curling.
- Trim edges to size, maybe round corners if desired.
Ideas for DIY Projects with Lamination Rolls
| Type of User | Project Ideas |
| Schools / Educators | Long banners or bulletin board backdrops; laminated strip charts; large posters. |
| Small Business / Print Shop | Menus, signage, protective overlays for promotional materials, and counter mats. |
| Crafters / Hobbyists | Book covers, table runners, scrapbook elements, reusable stencils. |
| Event Planning | Banners and backdrops, nameplates, directional signage. |
How to Maintain and Store
- Store rolls upright or on roll racks to avoid creasing.
- Keep finished laminated pieces flat.
- For cleaning, use a soft, damp cloth for the surface – avoid harsh chemicals unless the film is specified as chemical-resistant.
- Regularly clean the laminator rollers per the manufacturer’s instructions to avoid the build-up of adhesive or dust.
Tips for Best Results
- Always test the combination of film width, thickness, and feed speed with a sample piece first.
- Maintain proper tension on the roll film so the film doesn’t pull off angle.
- For very thick film or large width, slow the feed speed or run in multiple passes if your machine allows.
- Always leave protective edges and trim after lamination for a clean, sealed border.

